


Hey there, I’m Jake, and I’ve been running this Equipment Sheet Metal Housings shop for over a decade now. Over that time, I’ve had countless customers come to me panicking, saying their gear keeps failing when a fire breaks out—usually because their metal housings weren’t designed to hold up under high heat. I get it, fire-resistant sheet metal housings aren’t just a “nice-to-have” for industrial equipment; they’re non-negotiable if you want to keep your tools running (and your team safe) when things go sideways. Today, I’m walking you through how to design these housings right, based on everything I’ve learned from clients ranging from construction crews to manufacturing plants. And if you need actual parts to back up your design, we’re your guys—check out our pages for Precision Sheet Metal Parts, Mechanical Sheet Metal Parts, and all the stuff you need for builds that actually work.
First off, let’s cut through the noise: fire resistance isn’t just about grabbing any thick metal sheet. I’ve seen guys use 14-gauge steel and still have a housing warp like a pretzel after 30 minutes in a test fire. It’s about picking the right material, planning for heat transfer, and adding little details that make all the difference when the flames hit. Let’s start with material selection because that’s the foundation of everything.
Most folks default to carbon steel, but not all carbon steel is equal. Mild steel is cheap, but it loses half its strength when it hits 1000°F—total garbage for fire-resistant work. Instead, I swear by hot-rolled carbon steel with a minimum yield strength of 36 ksi, or even better, alloy steels like AISI 4130. That stuff holds up way longer under heat. Wait, but what if your budget is tight? No shame—you can add a thin layer of fire-resistant coating to regular steel, but make sure it’s intumescent coating, not just any paint. Intumescent coatings bubble up when heated, creating an insulating char that slows heat transfer. I’ve worked with these coatings so much I can tell you a good one from a bad one just by the can. And for really extreme environments—like if you’re making housings for construction machinery that operates in remote fire-prone areas? Maybe mix in some stainless steel, like 304L, but only where you need extra corrosion resistance on top of fire. If you’re building for heavy-duty gear, our Mechanical Sheet Metal Parts page has all the material specs I’m talking about, no guessing required.
Next up is heat transfer and thermal management, the part most designers skip. Think about it: when fire hits a housing, the heat doesn’t just stay on the outside—it seeps through to the internal components. If your equipment has sensitive electronics or wiring, even 200°F on the inside can fry them fast. So how do you stop that? First, use air gaps. Don’t lay sheets flat against each other—leave at least ½ inch between the outer wall and any inner supports. That air acts as an insulator. I also add thermal breaks at seams and fasteners. If you’re welding two steel sheets together, the weld itself becomes a hot spot. Instead, use threaded fasteners made of a lower-thermal-conductivity metal, like aluminum bronze, for critical seams. Welds are fine for non-critical areas, but thermal breaks keep heat from bridging gaps where it shouldn’t.
Then there’s the design of seams and penetrations. These are the weakest points in any housing, I don’t care how thick your steel is. I once had a client’s housing pass a static fire test but fail because a small penetration for a sensor was sealed with silicone that melted in 15 minutes. The fix? Use fire-rated gaskets at all seams and penetrations—stuff made from ceramic fiber or fiberglass, not regular rubber. And when you’re cutting holes for wiring, sensors, or vents, keep them as small as possible. Bigger holes mean more heat can get in. If you need vents, add a louvered design that closes automatically when temperatures hit a certain point (around 250°F, usually). That way, you get airflow when you need it, but seal it up when fire’s around. For construction machinery housings, our Construction Machinery Sheet Metal Parts page has pre-made vent and seam components that are already fire-rated, so you don’t have to reinvent the wheel.
Bending and forming details matter too, something I learned the hard way when a client’s housing bent out of shape during a test. When you form sheet metal into a housing, the bend radius is super important. If you use a tight bend radius (like less than 1x the metal thickness), you create a stress point that weakens the metal when it heats up. Tension at the bend makes it more likely to warp or crack. My rule is to use a bend radius of at least 2x the metal thickness for all critical housing walls. Also, avoid sharp corners—rounded corners distribute heat and stress more evenly. I once tested two identical housings: one with 90-degree corners, one with rounded. The rounded one stayed intact for 2 hours in the test fire, the 90-degree one failed in 45 minutes. That’s a cheap change that makes a huge difference.
Wait, what about testing? You can design a housing all you want, but you have to put it through actual fire tests to make sure it works. I’ve heard guys say “I’ll just estimate the heat resistance” and that’s a recipe for disaster. The standard tests are ASTM E119 or UL 1702—those measure how long a housing can keep internal temperatures below a certain threshold (usually 325°F for electronic components) while exposed to a standard fire. When we design equipment, we always run a prototype through a full test before mass production. I even do small-scale tests in my shop sometimes—burning wood or propane to simulate real fire conditions—to catch problems early. No amount of CAD drawings can replace actual real-world testing.
Let’s talk about common mistakes I see all the time. First, overusing fasteners. Too many fasteners create multiple thermal bridges, and each hole is a potential weak point. You don’t need to drill a hole every inch—space them 2-3 inches apart along straight seams, more around corners. Second, ignoring expansion. Metal expands when it heats up, so if your housing is rigidly attached to equipment without any room to move, it will crack or warp. Add small expansion joints in long walls—just a ¼-inch gap covered with a flexible fire-rated seal. Third, skimping on the metal thickness. I know, thicker metal costs more, but for fire-resistant housings, minimum thickness is 12 gauge for most industrial use. If you go thinner than that, even the best material will fail fast. Our Precision Sheet Metal Parts page lets you choose exact thicknesses and materials, so you can balance cost and performance without cutting corners.
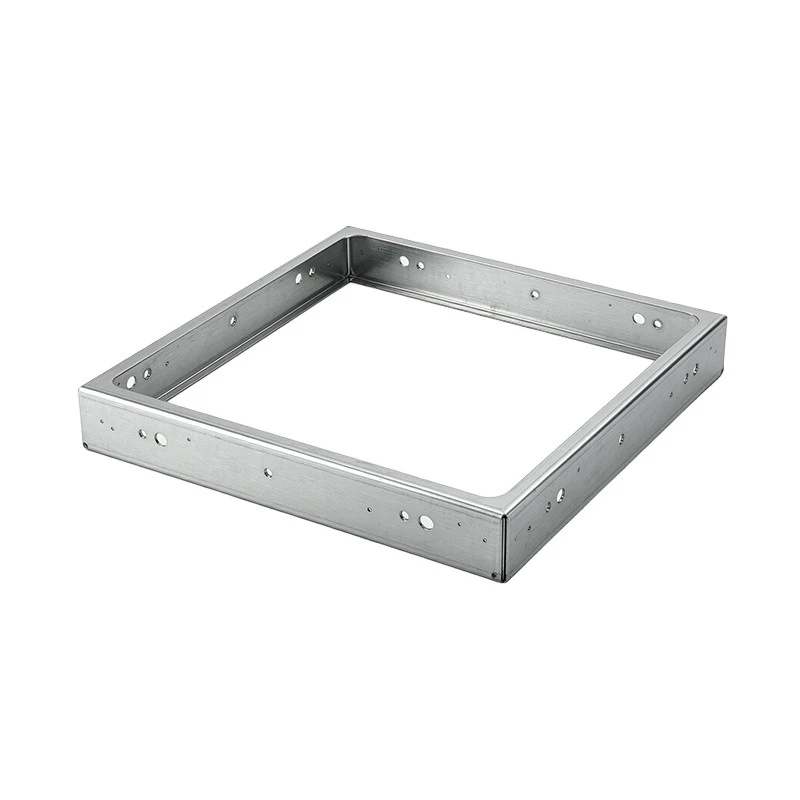
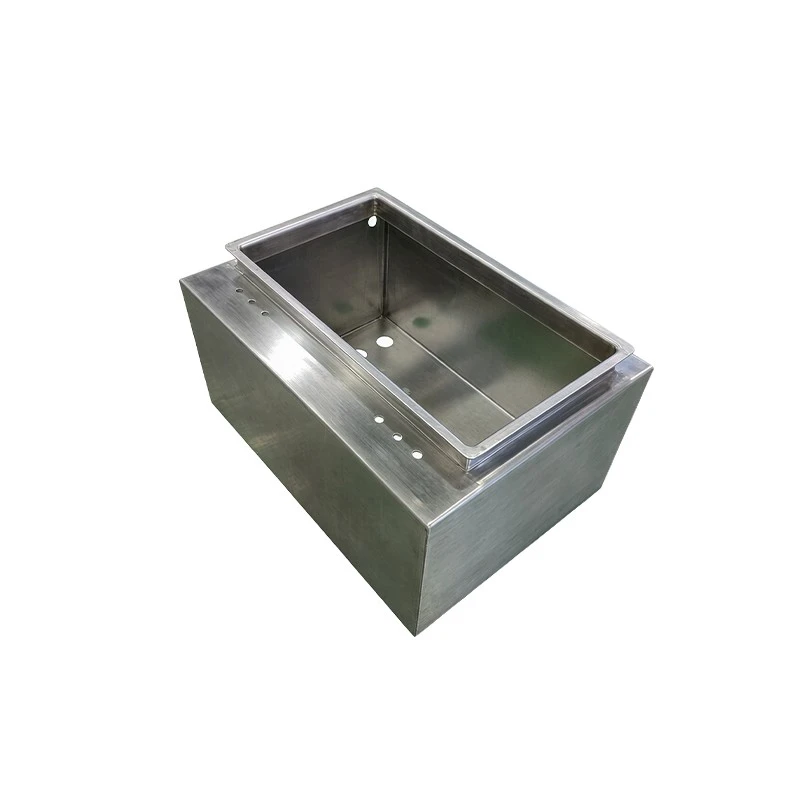
Another thing: surface treatment. After forming, don’t just paint the outside with regular paint. If you use a powder coat, get a high-heat powder coat rated for at least 1200°F. But remember, powder coat is just cosmetic, it doesn’t add much fire resistance—save the intumescent coating for structural areas. If you need extra protection against both fire and corrosion, a zinc-rich primer works well before the top coat. Just make sure the primer is compatible with high heat, too.
Now, let’s put this all together with an example. Last month, a construction company came to us needing housings for their bulldozer hydraulic systems. Their old housings kept failing when brush fires hit job sites. Here’s what we designed: 1/8-inch thick AISI 4130 alloy steel, with 2x bend radii on all corners, ½-inch air gaps between the inner hydraulic lines and outer walls, intumescent coating on the outer surfaces, and ceramic fiber gaskets on all seams. We added automatic closing vents at the top, and expansion joints in the side walls. We tested it using ASTM E119, and it kept internal temps under 250°F for 90 minutes—way longer than they needed. The client was stoked, and since then, we’ve done similar housings for three more construction crews. If you need something like that, head straight to our Equipment Sheet Metal Housings page—we can custom-build to your specs, no matter the project.
Wait, one more thing: maintenance. Designing for fire resistance doesn’t end when the housing is made. Add a small inspection panel on the side so technicians can check for corrosion or damaged coating. A lot of companies forget that, and by the time a fire hits, the coating is peeling, and the housing is weak. Inspection panels should also be sealed with fire-rated gaskets, so they don’t become a weak point. Simple stuff, but it saves you a lot of headaches later.
At the end of the day, designing fire-resistant equipment sheet metal housings is about balancing science and practicality. You don’t need fancy engineering degrees (though we have a few on our team) to get it right—just pay attention to the details, pick the right materials, test like you mean it, and don’t cut corners on seams or thickness. For over a decade, that’s been our formula, and it’s never let our clients down. If you’re working on a project and need reliable, precision-built parts to make your housing fire-resistant, or you want a custom housing built from scratch, reach out—we’re here to help. No generic solutions, just gear that holds up when it counts.
Thanks for sticking around, and if you have questions, I’m always around to chat.
References
NFPA 70B: Recommended Practice for Electrical Equipment Maintenance
ASTM E119: Standard Test Methods for Fire Tests of Building Construction and Materials
UL 1702: Standard for Safety for Electrical Equipment Enclosures for Hazardous (Classified) Locations


